Here’s a link to the Treadmill tutorial video I made: Treadmill Video Tutorial
You can buy Treadmills at Spinzone Global (Fast Track)
Here’s a little video compilation of our newest addition using one of the treadmills we made (Before anybody says anything, that was a temporary cage while we introduced her to her now cagemates.): Stana using treadmill
I haven’t done a thorough written tutorial because it’s basically the same process as the wheel. (You can check out that tutorial here: Sugar Glider Wheel Tutorial)
Except that you only use one lid and the lid is be facing the opposite way.
Here’s the little written tutorial I did:

Tools:
2 Ratchet wrenches
2 Sockets 1/2″
Box cutter (or blade)
Pliers
Hammer
Flat metal object
Butter knife or flat head screw driver *if using binding post screws*
PVC cutter
Drill, 5/16″ and 7/32″* drill bit *may be optional*
Ratcheting wrench or regular wrench 1/2″
Measuring tape
Dremel tool with sanding band or sand paper
Soldering iron
Materials:
1 – 5 gallon bucket lid
2 Plastic ceiling covers (Carlon) or one cut acrylic sheet (3″ diameter) or one 5″ plastic wall shield/protector
4 Binding posts, lengths vary. *Optional for ceiling covers, length 5/8″* *Highly recommended if using the acrylic sheet, length 1/4″* *Obligatory if using wall shield, length 3/16″*
1 Stainless steel washer 18-8 – 5/16”
2 Stainless steel lock nuts 5/16”
1 Stainless steel carriage bolt 5/16” x 3”
Plumber’s tape
1 PVC cross 1/2″
2 PVC tees 1/2″
1 PVC plug 1/2″
2 PVC caps 1/2″
4 PVC elbows 1/2″
2 Skateboard bearings
1 – 5′ or 10′ – 1/2″ PVC pipe
1 Nut 5/16” (stainless steel not necessary)
1 Fully threaded hex bolt 3” (stainless steel not necessary)
2 – 5/16″ Nylon spacers, 1/4″ thick

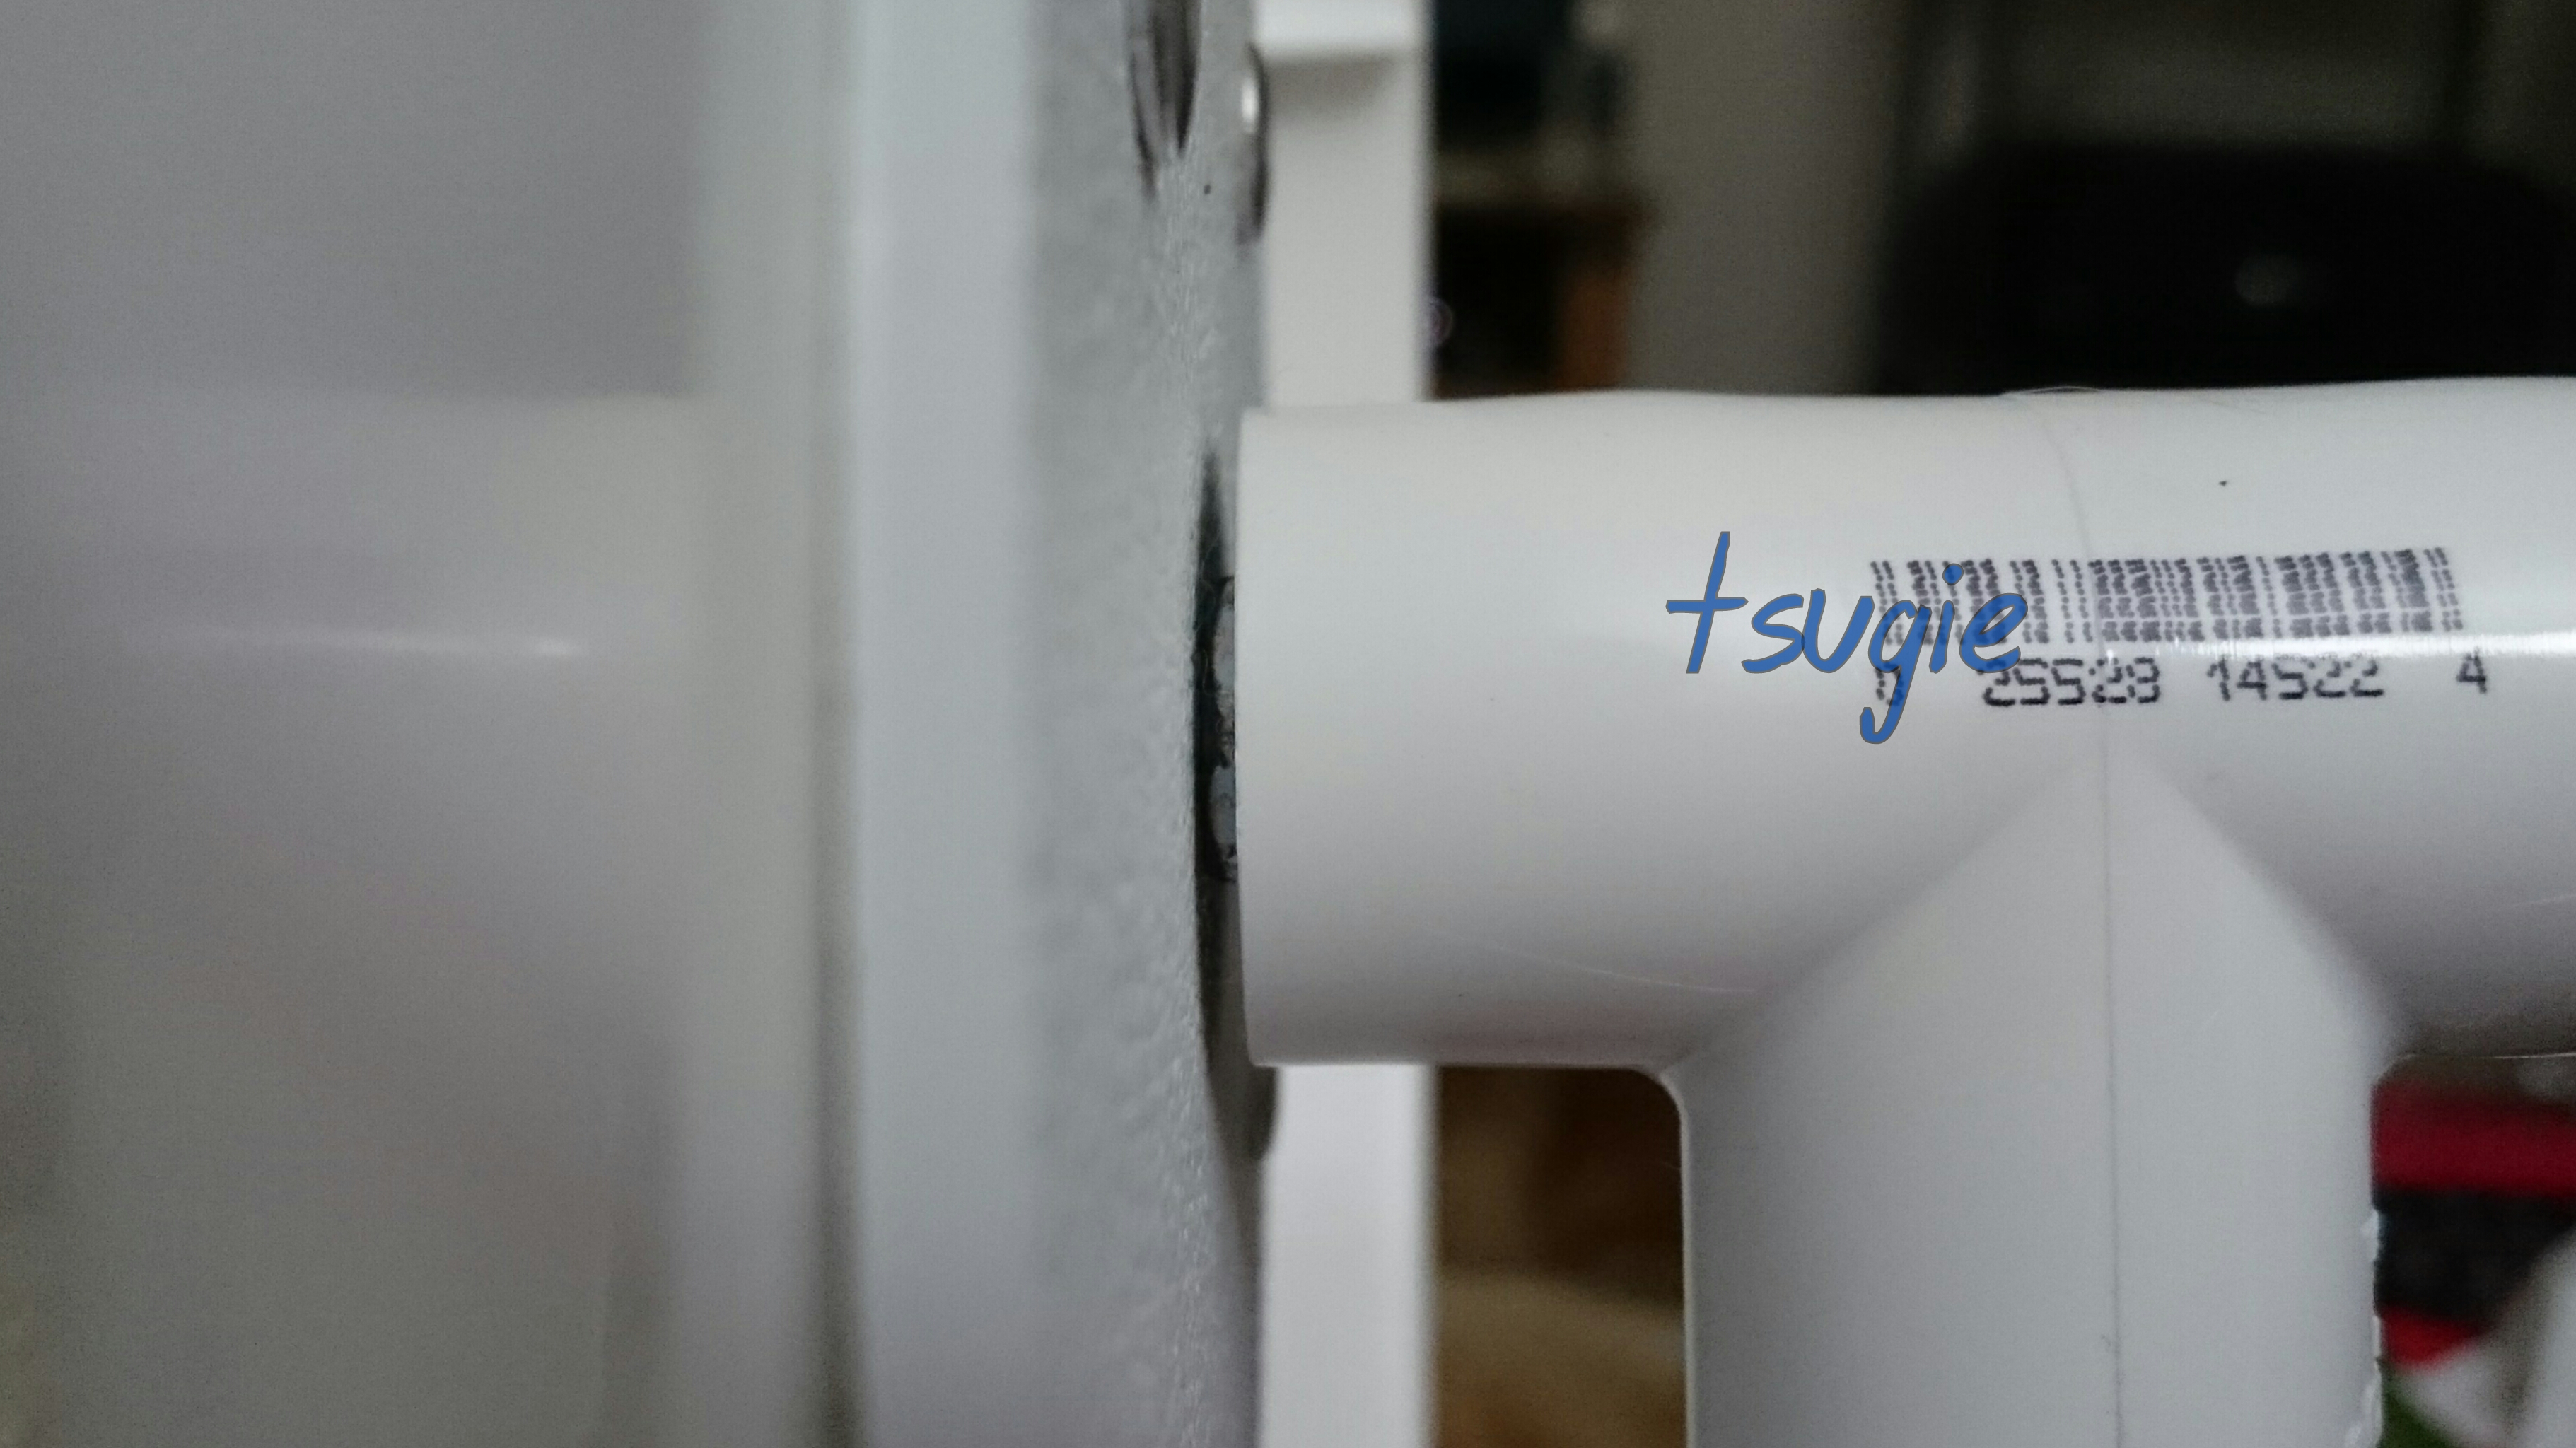
Process (look at the photo for number reference):
1-2. Hammer the bearings inside the PVC cross (on opposite sides to each other). Or sand down the PVC cross until the bearings slide in.
3-4. Pass a 5/16″ bolt through the bearings and thread a nut. Tighten with ratchet wrenches until the bearings reach the end. *Skip if sanding down the PVC tee.*
5. Drill a 5/16″ hole on the center of the lid.
6. Drill a 5/16″ hole on the center of the the backing you will be using (ceiling covers, acrylic sheet or wall shield). (I recommend holding the ceiling covers together with clamps while drilling the center holes so that they match perfectly.) And make a square using a soldering iron where the carriage bolt passes first. (If using the ceiling covers, make the square on one of them. If using one of the other two options, the square goes on the lid.) Make sure the carriage bolt has a tight fit.
Shave off the melted plastic from the hole you turned into a square.
7-8. Sand down the pegs of the ceiling covers until shorter than the rim. Check on a flat surface to make sure they are shorter. *Skip if not using ceiling covers.*
9-10. If you are using the acrylic sheet or wall shield, drill some 7/32″ holes around the center hole like this:

Depending on where you drilled them, you might need to drill more to make the wall shield lie completely flat against the lid. So you could end up needing more than 4 binding posts.
After drilling all the necessary holes, start putting together the lid with the backing of your choosing. If using the ceiling covers, don’t be afraid to tighten them until they bend inwards a little.
*I drill all the 7/32″ holes on the backings first. Then I attach them to the lid and use the 7/32″ holes as guides to make the holes on the lid.
Make one hole first and put a binding post. Then drill the rest of them. Doing it like this ensures that all the holes will match perfectly because the backing will not be able to move while you’re drilling the rest.*
11. Place the two, or however many you need, nylon spacers after the lock nut. Then generously coat the bolt with plumber’s tape in the area where the bearings will be. It’s ok if you cover a bigger area. Just be sure to leave the tip of the bolt uncovered for the lock nut.
12-13. Place the bearing system, screw the last lock nut and put the PVC plug.
The PVC plug is pretty long so you can cut it, like I did, using a PVC cutter. (I have two PVC cutters I use on the first photo. To cut the plug I use the second one, from left to right.) [The photos of steps 12 and 13 don’t show the extra 5/8″ PVC pipe seen on the other photos but I suggest adding it because it increases the space between the stand and lid. So there’s less chance of the gliders hitting the stand.]
14.* Start making the stand and finish it by attaching the lid with the bearing system to it.
*I actually suggest making the stand first, attaching the bearing system, and then attaching the lid to it. Like you see in a photo above. It’s easier to put together that way, in my opinion.
And you can glue the stand together using cement glue. If you decide to use some, make sure to only use a little and that the gliders do not have any access to it.*
I added the nylon spacers to leave a tiny space between the PVC tee and backing. Not leaving the space will wear down it down, creating a dust that could damage the bearings.
This is the small space created with the nylon spacers:
With the design from this tutorial you will probably need two 5/16″ nylon spacers that are 1/4″ thick. But I have had to use a 1/4″ one and a 1/8″ one in one of my wheels, so check your treadmill to make sure you get the one(s) you need.*
Here’s what the wearing down looks like on a ceiling cover: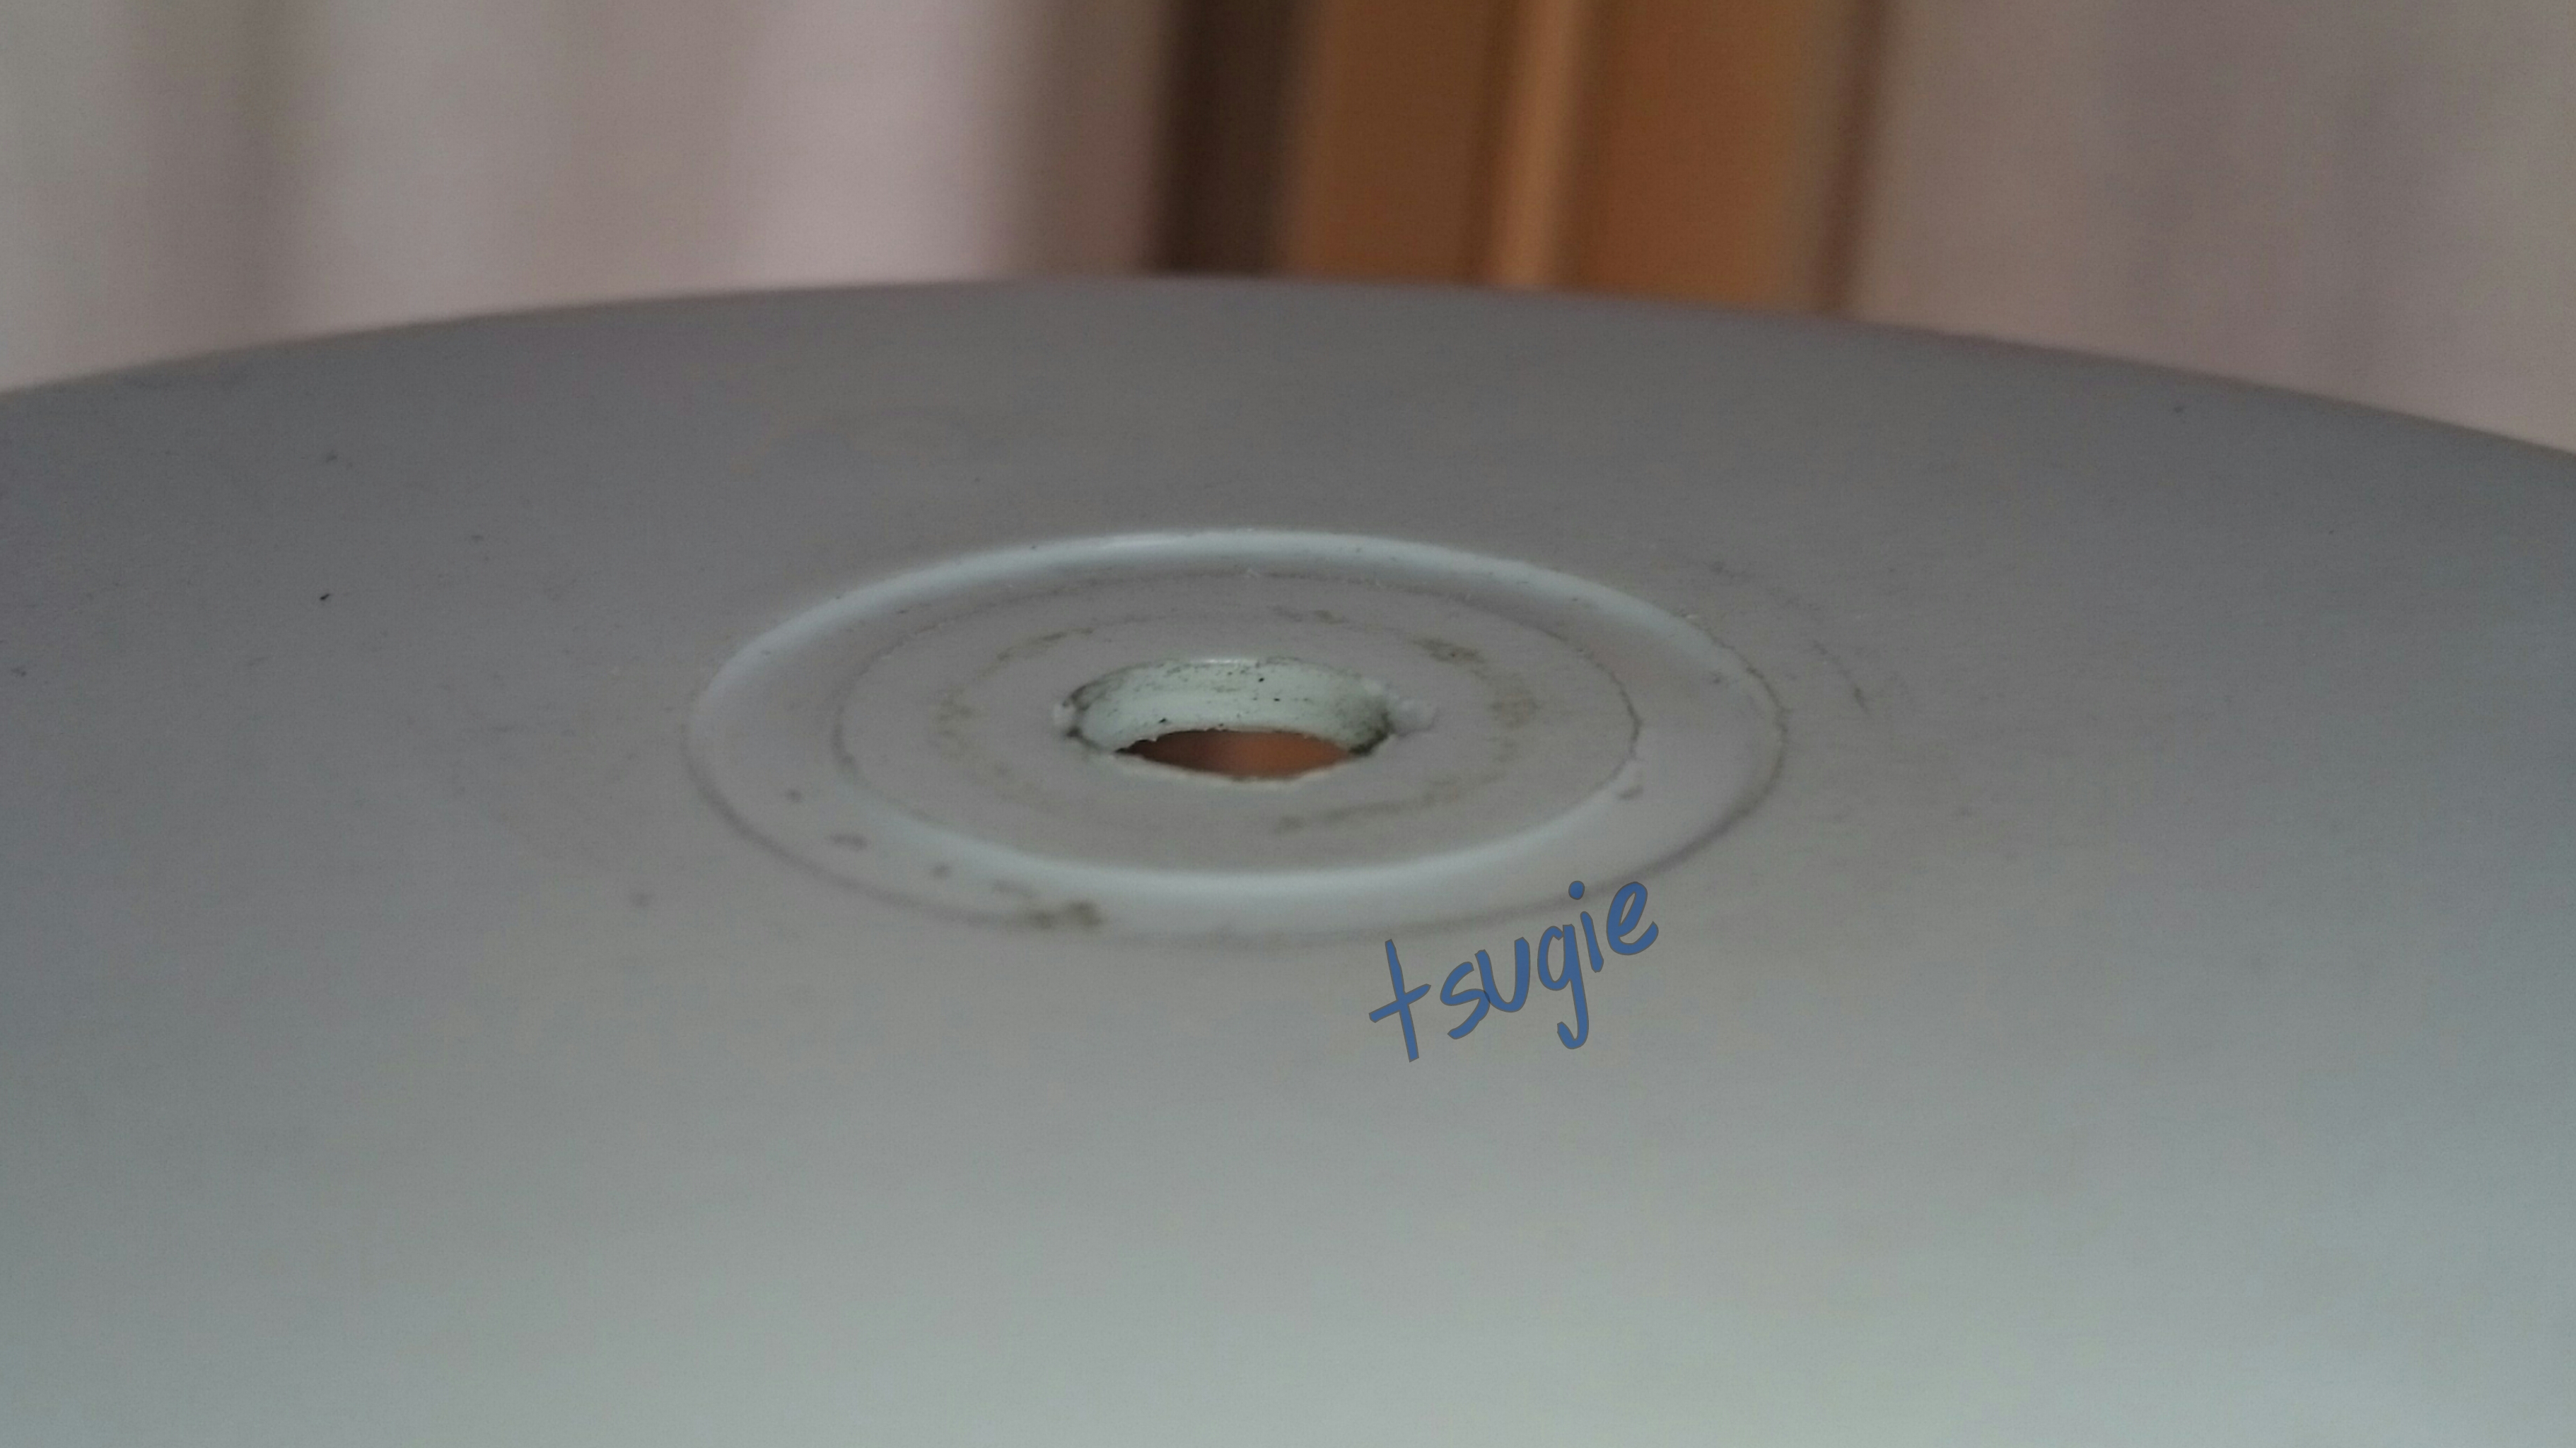
I just did this pictured tutorial for a quick guide. The video will help make better sense of it.
I didn’t make a tutorial or video of making the stand because it’s super straightforward.
You can also make the stand like Fast Track does it.
I prefer my version, to be honest.
Some people have had their lid fall off because the people from Fast Track have forgotten to glue the PVC tee/bearing system to the PVC pipe.
With my version, even if you don’t glue it, there’s no risk of the lid randomly falling off the stand.
I haven’t done a tutorial at all for the cover/cozy.
I’m not sure if I will, honestly.
But this video helped me out when I made mine: Fabric bowl
I only used one piece of fabric. Remember to use fleece!
Oh, and Fast Track does sell the cozy pattern.
So you could just buy it.
But you can see that they use 1/4″ elastic and an 18″ square piece of fleece.
Basically, fold an edge big enough to fit the elastic and be able to sew it. It’s still a pretty small edge, by the way.
Sew the edge but leave an opening to slip the elastic in. When done sliding the elastic in, sew the two ends of the elastic together, put it inside the edge you just did and sew it shut.
Hopefully that’ll help you without having to buy it.
Make sure to trim your gliders’ nails regularly if using a fleece cozy. Their nails can get caught on the fleece.
Apparently it’s ok to use the treadmill without the cozy. I have always used one and will continue to do so. But, I guess you don’t have to. XD
Lastly, please place the treadmill away from the side of the cage for safety reasons.
Just like with a wheel, it’s highly recommended to leave a few inches of clearance between it and the walls of the cage.
Anyway, feel free to ask me any questions you may have! 🙂

I think the bearing system is awesome. I an a 50 yr old woman and I have had great success with mine. I followed your well written tutorial on the wheel and it made the treadmill directions fall into place easily. Thank you for sharing this. I am in the process of making covers for 2 treadmills before I move my babies into their upgraded cages.
LikeLike
I’m so glad my tutorial helped you!
Good luck with the covers. 🙂
LikeLike
I enjoyed going over your instruction, and am in the process of building one of your wheels. I like building a lot of things and writing instructions, and would like to offer some suggests to go with your instructions. If you like the first suggestion, let me know, because I have more. Here goes #1: Many people own a bench vice. You can easily press the bearings into the PVC “T”, instead of using a hammer and flat iron. Then, insert your bolt I nut to finish the job 🙂
Guy
LikeLike
Thanks for the comment!
I’ve seen them on my grandfather’s working area but totally forgot about their existence. XD
Either way, it probably never would have occurred to me to use that instead.
I’ll add it. 🙂
LikeLike
You can also use that same vice to hold the head of your hex bolt, while you wale away with the ratchet wrench, driving the bearings into the PVC “T”. Also, if your long reach socket is not long enough, add one or more of the metal spacers that came with the roller skate bearings under the nut.
I found one point in your instructions very confusing. When you list “Materials” you list optional materials for reinforcing the center of the bucket lid. But I didnt realize you were listing different options, and tried to buy everything. LOL
I am trying yet another option for re-enforcing the bucket lid………hehe……an Ice Hockey Puck (Ebay-$4) and stainless sheetmetal screws. I’ll let you know how that works out.
LikeLike
lol
The ice hockey puck sounds like a very good idea!
Yes, please let me know how it works out!
LikeLike
I like it a lot! Just made a little template to drill the same holes in the lid & puck. You could use aluminum pop rivets instead of screws. Very easy & cheap. Can I post a pic?
LikeLike
Yes, go ahead. 🙂
LikeLike
Oops…wrong question… HOW do I post a pic? I’m not registered with “WordPress”, and every time I attempt, they ask me questions about building a website
LikeLike
Hey, folks! I want to report the wheel I made has now lasted 3 years, with never a problem
LikeLiked by 1 person
Thank you for posting this video! A lot of DIY running wheel tutorials involve using a rollerblade wheel and zip ties, which works I guess, but always seemed less than ideal to me. Using the 1/2″ PVC to house skate bearings was exactly what I was looking for! I used Bones Swiss Ceramic (which are pricey), but I’m able to make 4 wheels with it, and they don’t rust out.
LikeLike
I was actually looking at ceramic skate bearings before for my wheels! They are definitely more expensive than the regular ones. Lol
LikeLike